Best bet for body mounts found
Posted: Wed Sep 17, 2008 11:49 pm
A lot of this is repeated from my Crew Progress thread, but felt it was important enough to share in the proper section.
My crew needs body mounts and I have been chasing dead ends for awhile now. I have checked with Steele, Restoration Specialties and most of the other typical suppliers of such. Nothing. All along I have kept thinking the 72-93 Lifestyle trucks were going to be good candidates, but never found the proper specs.
Today I spoke with Energy Suspensions again, and this time the tech mentioned that they had ONE distributor that they allow to sell individual bushings from the kits. They also had size specs available for comparison. It is a complicated process to go through, but it gave me the results I needed.
The supplier is http://www.suspension.com. The individual listings are located at http://www.suspension.com/BODYMOUNT.html. To find the specs on the 72-93 Dodge, I had to find the Dodge part number, 5-4101 and then look it up this page http://www.energysuspension.com/pages/instshts.html to get the instruction sheet number and then get the instruction sheet on this page. http://www.energysuspension.com/pages/page_pdfs.html From the instruction sheet I can get the individual part numbers to find on the suspension.com site. The instruction sheet is at:
http://www.energysuspension.com/pdf_instruc/17070.PDF
After a bunch of digging I was able to come up with this:
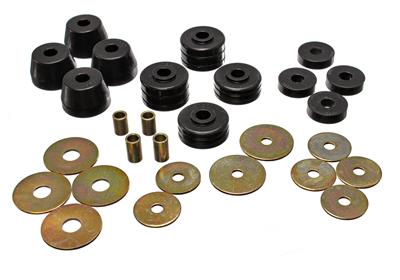
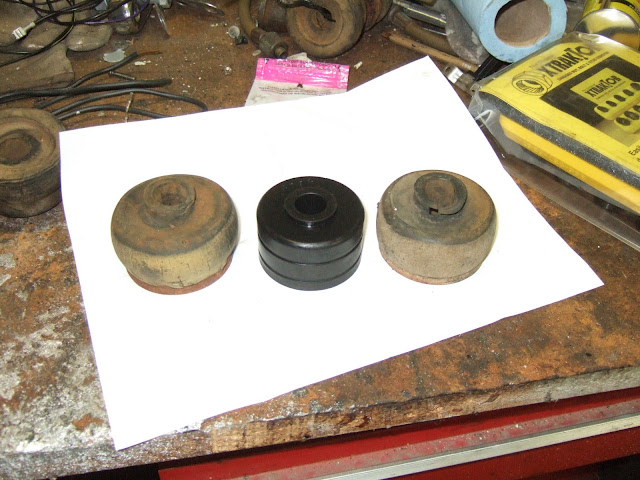
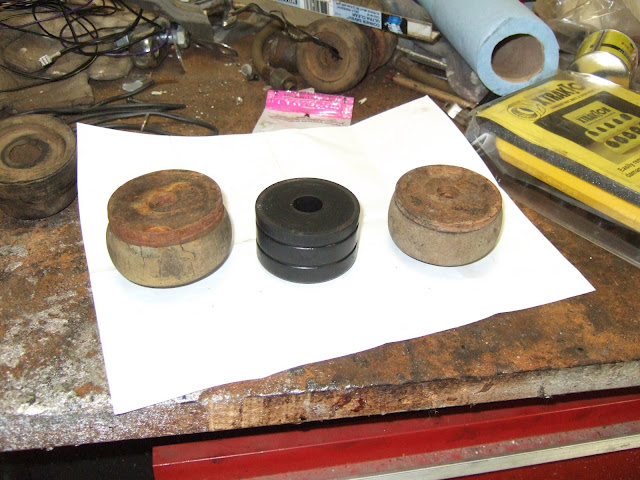
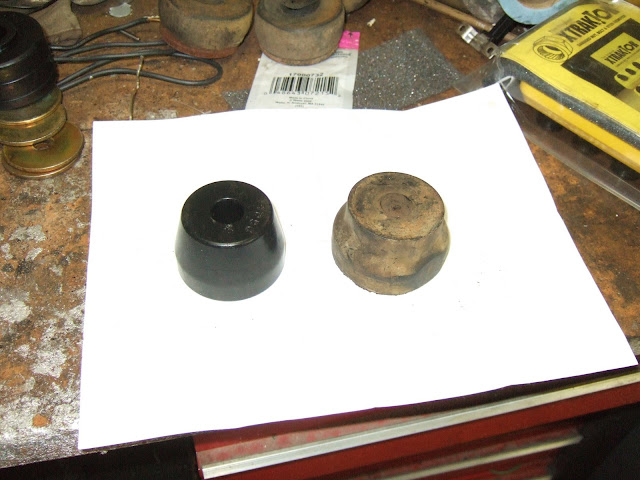
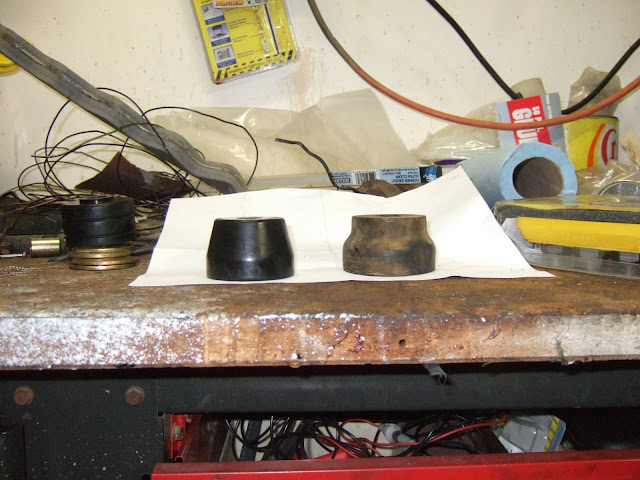
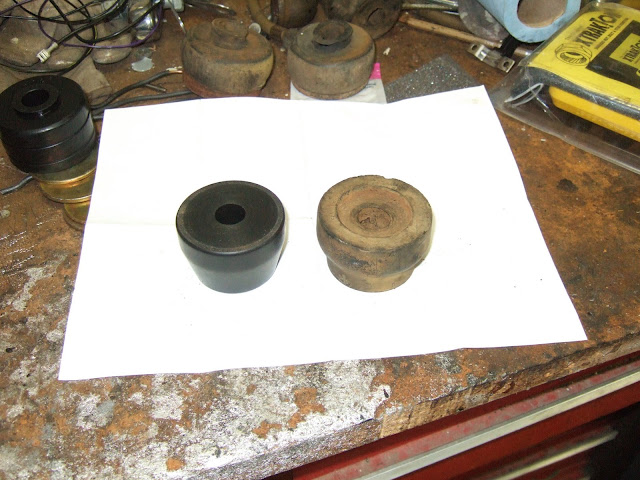
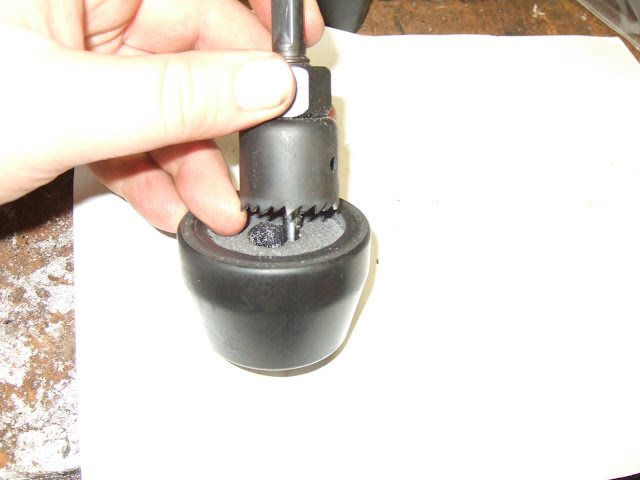
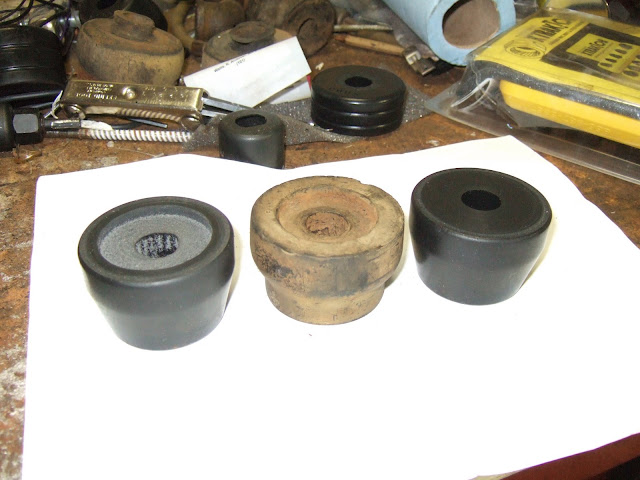
The top rear cab mount is 4094 - it is 2.39" in diameter, and 1.38" tall. The step that fits into the frame is 1.145" in diameter and the hole in my frame is 1.1875". The bottom section is 4096- it is 2.417" in diameter and 1.555" thick. The hole is 0.7", so you could probably use a thin sleeve around your .5" bolt if desired. These are pretty darn close to what I pulled off my trucks.
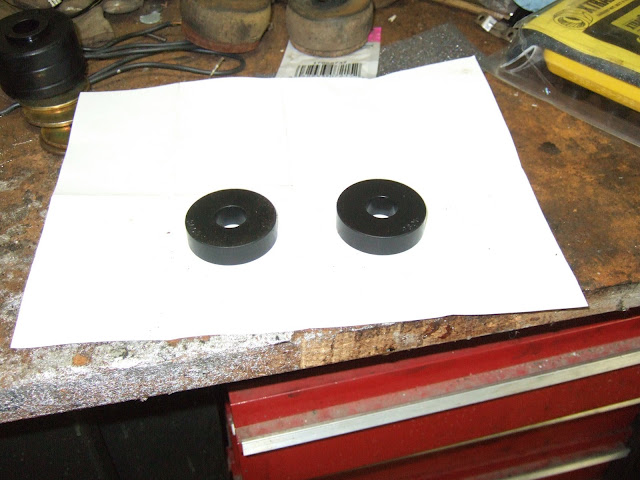
The kit also includes a 0.94" front cab mount and 4 .5" pucks for the core support. If the kit parts were used instead of the stock belting, the cab would probably pick up about a 1/4" body lift.
You could just order 4094 & 4096 and use belting, but here is where it gets weird. According to the Suspension.com website, all single piece orders are special orders, and take 4-6 weeks. They must also be paid for before the order is sent the Energy. However, Energy doesn't provide a price list, so they don't know how much the parts will be until AFTER they arrive from Energy. Perhaps Suspension.com can offer more insight before you order, but sounds like you sign on for a blank check order.
The kit is $64 from Summit http://store.summitracing.com/partdetai ... NS-5-4101G and Prothane offers a kit that is $12 cheaper, but it is currently back ordered on Summit. That price seems pretty fair to me and new Poly bushings on all cab points sounds good to me.
Stay tuned, I should be ordering a set this week as a guinea pig!
My crew needs body mounts and I have been chasing dead ends for awhile now. I have checked with Steele, Restoration Specialties and most of the other typical suppliers of such. Nothing. All along I have kept thinking the 72-93 Lifestyle trucks were going to be good candidates, but never found the proper specs.
Today I spoke with Energy Suspensions again, and this time the tech mentioned that they had ONE distributor that they allow to sell individual bushings from the kits. They also had size specs available for comparison. It is a complicated process to go through, but it gave me the results I needed.
The supplier is http://www.suspension.com. The individual listings are located at http://www.suspension.com/BODYMOUNT.html. To find the specs on the 72-93 Dodge, I had to find the Dodge part number, 5-4101 and then look it up this page http://www.energysuspension.com/pages/instshts.html to get the instruction sheet number and then get the instruction sheet on this page. http://www.energysuspension.com/pages/page_pdfs.html From the instruction sheet I can get the individual part numbers to find on the suspension.com site. The instruction sheet is at:
http://www.energysuspension.com/pdf_instruc/17070.PDF
After a bunch of digging I was able to come up with this:
The top rear cab mount is 4094 - it is 2.39" in diameter, and 1.38" tall. The step that fits into the frame is 1.145" in diameter and the hole in my frame is 1.1875". The bottom section is 4096- it is 2.417" in diameter and 1.555" thick. The hole is 0.7", so you could probably use a thin sleeve around your .5" bolt if desired. These are pretty darn close to what I pulled off my trucks.
The kit also includes a 0.94" front cab mount and 4 .5" pucks for the core support. If the kit parts were used instead of the stock belting, the cab would probably pick up about a 1/4" body lift.
You could just order 4094 & 4096 and use belting, but here is where it gets weird. According to the Suspension.com website, all single piece orders are special orders, and take 4-6 weeks. They must also be paid for before the order is sent the Energy. However, Energy doesn't provide a price list, so they don't know how much the parts will be until AFTER they arrive from Energy. Perhaps Suspension.com can offer more insight before you order, but sounds like you sign on for a blank check order.
The kit is $64 from Summit http://store.summitracing.com/partdetai ... NS-5-4101G and Prothane offers a kit that is $12 cheaper, but it is currently back ordered on Summit. That price seems pretty fair to me and new Poly bushings on all cab points sounds good to me.
Stay tuned, I should be ordering a set this week as a guinea pig!